
One of the things I made a couple of Christmas' ago, was this paper tree. It was simple enough that I made it while watching TV ( OK I admit it, I watch TV ). So many of my friends have commented that they liked it that I decided to share the directions on how to make it here. Now they'll have to visit my blog to learn how to do it! Yeah, my friends are not regular blog visitors. Are yours?
I don't have photos of each step but hopefully the directions and completed photos will be enough to help you get the idea. And they look better in real life. My photos don't do them justice.


You will need:
1) Vintage paper ( I used vintage music paper )

2) Wooden skewer ( I used a thin kabob type skewer )
3) Glass candle holder ( I found one at the Salvation Army )
4) Small piece of lace or ribbon
5) Vintage small Christmas ornament ( or whatever you want at the top )
6) Craft Putty to hold skewer in place
7) Craft scissors to create fancy edges

8) Small cardboard square
Here's the HOW TO:
Take the craft putty and press into the space where the candle would go in the candle holder. Stick the skewer into the middle and press putty around it to keep it in place. The craft putty should hold the skewer in place. You may need to let the putty harden, depending on what type you use.
Using the craft scissors, cut the vintage paper into small squares of decreasing sizes ( as you see in the tree ). You would have many pieces of the same size. You don't need to be exact in the decreasing size. Just cut gradually smaller and smaller squares. This is the part where I watched TV.
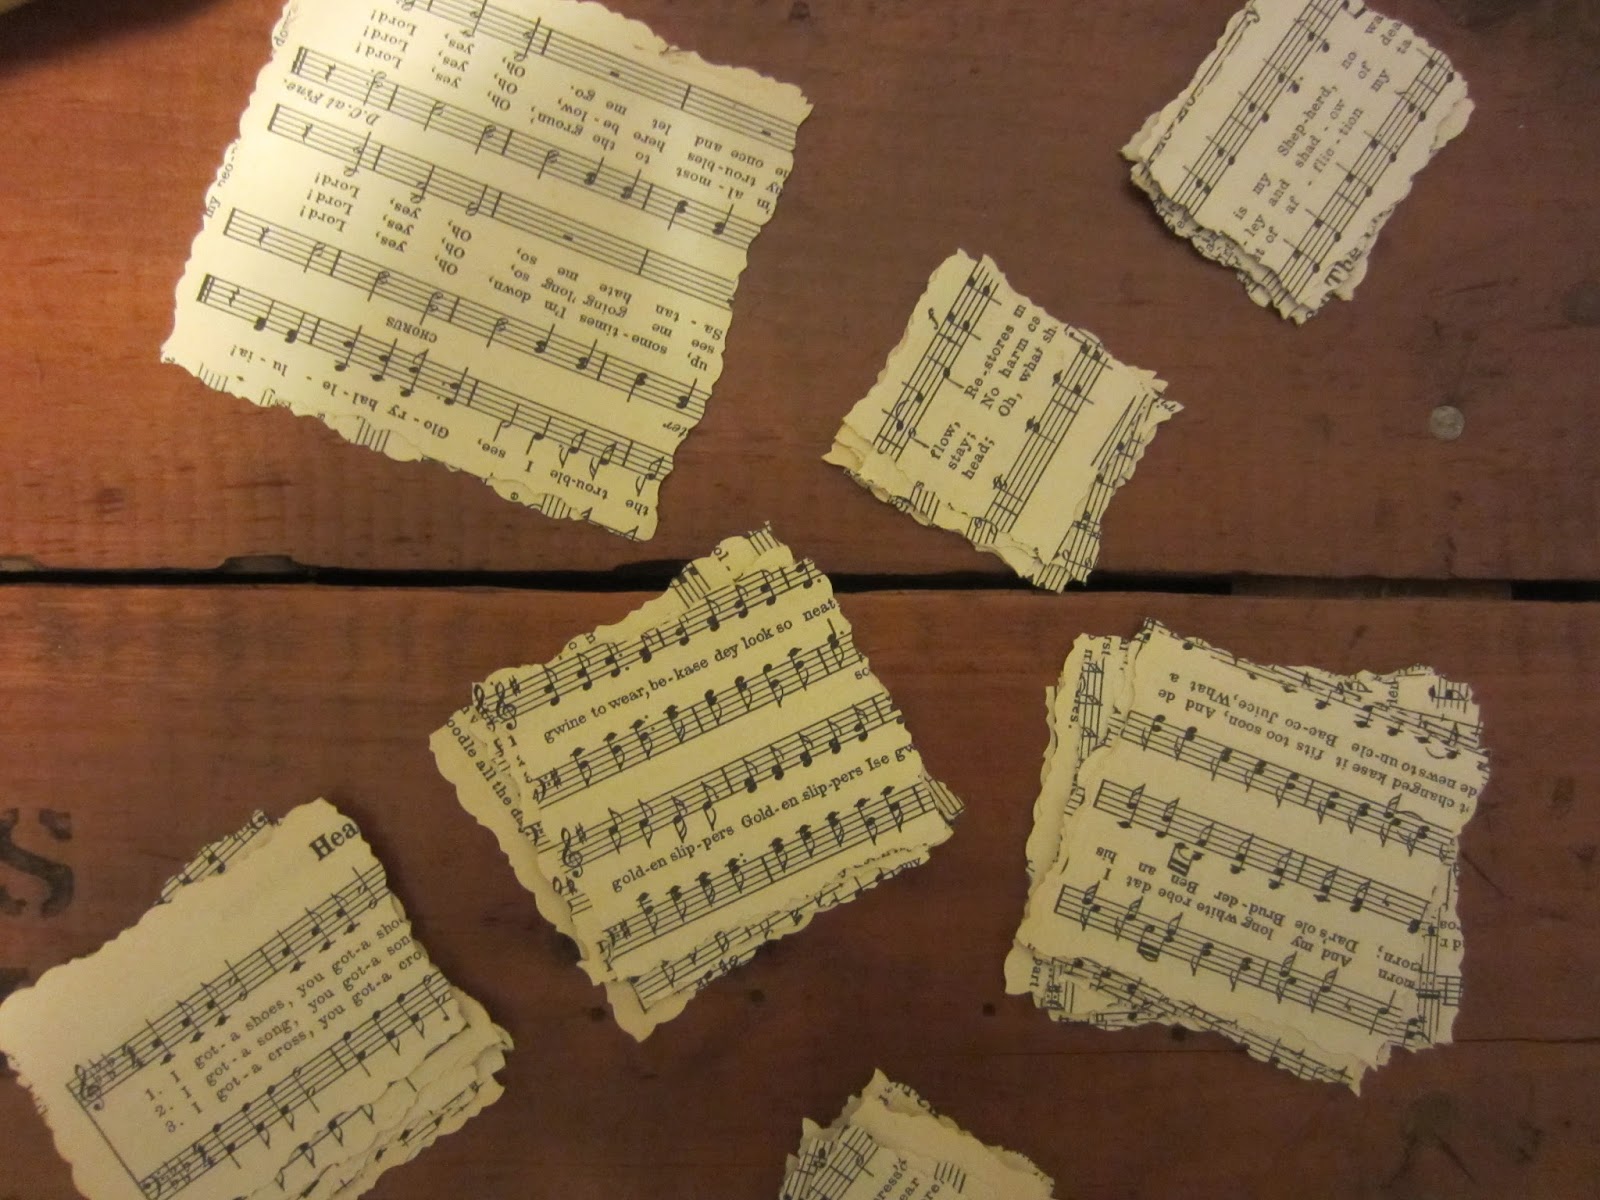
Next, take each square and scrunch it up. Yup, that's right, crinkle it up! This gives the tree more fullness!


For the finishing touches, find some lace or ribbon and tie around the top. There should be just enough room to place a little vintage ornament at the top.


Simple to make and Cheap! Right up my alley!
That is very cute! What a great idea!
ReplyDeleteHi Sandy! I always really like these trees when I see them. Maybe I'll work up the patience to make one. Yours is really cute!
ReplyDelete